


 ×
×
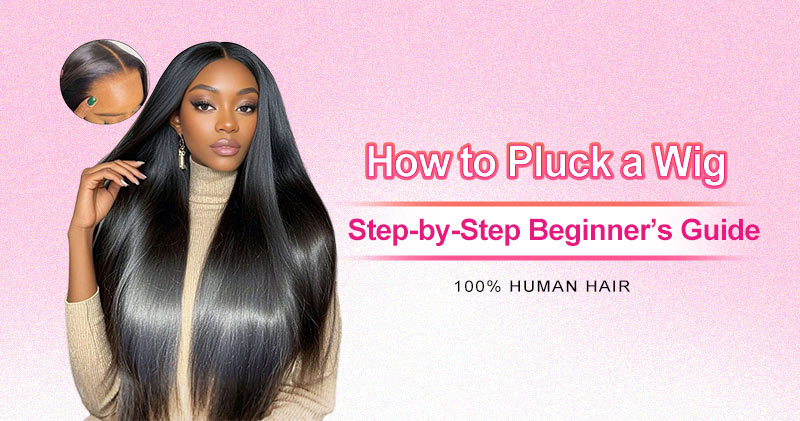
How to Pluck a Wig for a Natural Hairline: Step-by-Step Beginner's Guide
Last updated Mar.20,2026
Tired of your wig looking “too wiggy” with an unnatural, stiff hairline? Wondered why the hairline of others' wigs looks exactly the same as one's own hair? The secret lies in the proper plucking! For beginners, plucking a wig to create a natural hairline may be overwhelming. They are worried about accidentally ruining the wig. But in fact, as long as you master the correct steps, this is a very easy skill to learn. This guide will teach beginners step by step how to pluck a wig for a natural hairline.
Why Plucking a Wig Matters
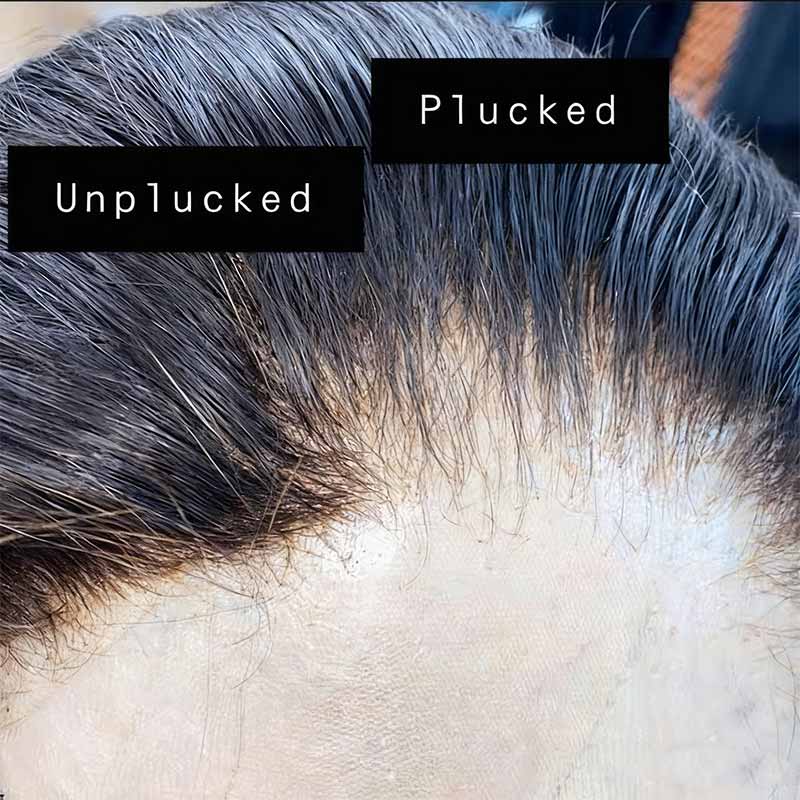
Most wigs typically come with a dense, uniform hairline that looks stiff and “wiggy.” The hairline looks too perfect but not natural and realistic. Natural hairlines of human beings have gradual density variation, irregular growth patterns, and subtle scalp-revealing gaps.
Plucking a wig is a core key to creating a natural-looking and realistic wig that can seamlessly blend with your scalp. Plucking the excess hair from the wig's hairline can mimic the natural hair growth and density, creating an illusion that the hair is naturally growing from your scalp.
When Do You Need to Pluck Your Wig?
✔️The hairline is too dense and uniform.
✔️The front hairline is straight across, which looks too stiff.
✔️The front hairline is too far forward.
✔️You want to customize a hairline as same as your natural hairline.
✔️You want to define the parting to look more natural.
What You'll Need: Essential Tools for Plucking a Wig
Ready to start plucking? First, gather these must-have tools to make your plucking smooth and precise. No particularly professional tools required! All these items are easy to gather online or at a local beauty supply store.
▪️Pins
▪️Hair clips
▪️A wig stand
▪️A rat-tail comb
▪️Slant-tip tweezers
▪️Spray bottle with water
Step-by-Step: How to Pluck a Wig for a Natural Hairline
If your wig is a glueless wig that comes with pre-bleached knots, you can start your work. If your wig is a regular lace wig with unbleached knots, you should bleach the knots first.
Step 1: Secure the Wig
Find a place with good light. Place your HD lace wig on the wig stand. Then secure the wig with pins. Be careful not to rip the wig's lace.
Step 2: Identify the Hairline
Before plucking, decide what kind of hairline you want. You can refer to your own hairline. If you are not satisfied with your hairline, you can seek some beautiful hairlines online for reference.
To avoid ruining your wig, you can trace your desired hairline on the wig with a washable pen.
Step 3: Start Plucking Gradually

Pull the hair back and secure it with hair clips. You can spray some water to make the hair less frizzy and easier to work with. One hand holds the tweezers at a 45-degree angle to the wig, and the other hand holds the wig. Grip 1-3 hairs at a time near the lace and gently pluck them off. Don't pluck too hard to tear the lace. Repeat the motion until all hair that falls outside your drawn line is plucked off.
Step 4: Create a Natural Gradient
The natural hairline is thinner in the front and gradually denser toward the crown. Use a rat tail comb to section off a small layer of hair along the hairline to pluck some hair. After you've thinned this layer, continue to the next layer. Repeat the plucking layer by layer to create a natural hairline.
Step 5: Final Check, Adjust, and Styling
Try the wig on the head, and check the hairline in the mirror. If it still looks dense, pluck lightly. After you're satisfied, you can cut the lace and install the wig. You can add some baby hairs to make your hairline more natural and realistic.
Beginner Mistakes to Avoid When Plucking a Wig
❌Use the wrong tweezers
❌Grip too much hair at a time
❌Pluck too hard to rip the lace
❌Pluck too much hair to make the hairline overly thin
❌Rushing the plucking leads to irreversible mistakes
❌Starting to pluck immediately without identifying your desired hairline
Final Takeaway
The above is the step-by-step guide for beginners to pluck a wig for a natural hairline! Don't be nervous. Follow these steps and take some practice, and you can customize a natural and realistic hairline that suits you.
Related Posts: